
How to Keep Your Crochet Rounds Perfectly Round with Simple Increases
- Rebekah Bowen

- 3 days ago
- 3 min read
Crocheting in rounds is a popular technique for making hats, doilies, coasters, and many other projects. But if you’ve ever noticed your rounds turning into a hexagonal shape instead of a smooth circle, you’re not alone. This happens because of the way increases are spaced around the round. Fortunately, there’s a simple trick to keep your rounds looking more perfectly round by adjusting how you place your increases.

Why Crochet Rounds Become Hexagonal
As you move into each new round, every increase is worked into the second stitch of the previous increase, which naturally gives your project a hexagonal shape.
This shape is not necessarily wrong, but it can be undesirable if you want a perfectly round piece, especially for projects like hats or plush where a circular shape needed.
The Trick to Keep Rounds More Circular
The key to a rounder shape lies in how you space your increases. If the number of stitches between increases is an even number, you can split those stitches at the beginning and end of the round. If the number of stitches between increases is an odd number, you increase as you normally would. Alternating the rounds like this balances the increases and smooths out the corners.
Example Pattern Adjustment
Let’s say you increase your rounds by 6 stitches each time, this is the "split formula" as I call

that will help you achieve the circular shape:
```
Example Odd stitch count: SC 4, inc repeat 6 times
```
```
Example Even stitch count: SC 2, inc, SC 4, inc x 5, SC 2
```
By following this formula on each round — keeping an even number of stitches between increases — you’ll distribute the increases more evenly throughout your work. The same principle applies when you’re decreasing.
How to Apply This Trick to Your Projects
Here are some practical steps to use this method in your own crochet rounds:
Count your stitches between increases. Make sure the number is even to use the "split formula".
Split the stitches evenly at the start and end of the round. For example, if you have 6 stitches between increases, crochet 3 stitches before the first increase and 3 stitches after the last increase.
Keep track of your rounds carefully. Mark the beginning and end of your rounds to avoid confusion.
Test with a small swatch. Before starting a large project, try this method on a small circle to see how it affects the shape.
This approach works well for many types of crochet projects, including hats, bags, and circular blankets.

When to Use This Technique
This method is especially useful when you want a clean, round shape for:
Hats and beanies
Circular placemats or coasters
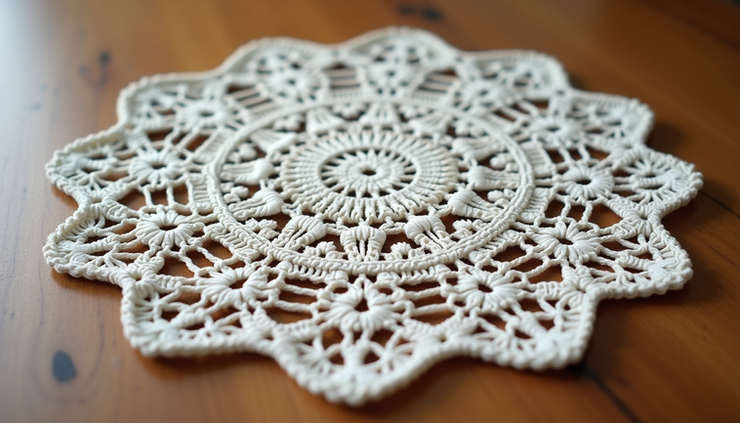
Mandalas and doilies
Round cushions or pillows
Plush
If your project benefits from a smoother round shape, this trick will improve the overall appearance.
Final Thoughts
The more crochet techniques you add to your toolkit, the more you refine your skills. Whether a tip is simple or technical, each one helps you grow into the best crocheter you can be — and this little tip is no exception. Learn it, love it, and use it well!


Comments