
Learn How to Perfect a Crochet Color Change for a Seamless Look!
- Rebekah Bowen

- Feb 24
- 4 min read
Updated: Mar 30
Switching colors while crocheting in a round can be tricky. Jagged edges often appear where colors meet, breaking the smooth flow of your work. These uneven transitions can distract from the beauty of your project, no matter how carefully you stitch. The good news is that mastering the seamless slip stitch technique can solve this problem. This method allows you to change colors smoothly, creating clean, professional-looking rows that highlight your craftsmanship.
This guide will walk you through a seamless color changing technique step-by-step, explain why it works so well, and offer tips to help you apply it to your next crochet project. Whether you’re making a colorful hat, a striped blanket, or a detailed amigurumi, this technique will elevate your work and impress anyone who sees it.

Why Jagged Edges Happen When Changing Colors in the Round
When you crochet in a round, each stitch builds on the last to form a continuous spiral or circle. Crocheting in a spiral means that changing colors can leave an uneven jagged look instead of a solid strip of color.
This unevenness happens because the new color starts at a different height or and position than the last stitch
These small differences add up, making the edge look rough instead of smooth. Jagged edges are especially noticeable in projects with stripes or color blocks, where clean lines are key.
How do You Seamlessly do a Color Change?
Using the seamless slip stitch technique allows you to crochet with a starting point and an ending point. This keeps the rounds evenuses slip stitches to join the new color yarn to the previous round without creating bumps or gaps. Instead of cutting the yarn and starting fresh, you slip stitch into the last stitch of the old color, then begin crocheting with the new color in the next stitch.
This method:
Keeps the yarn join flat and tight.
Aligns the new color stitches perfectly with the previous round.
Creates a smooth, continuous edge without visible breaks.
The result is a flawless color transition that looks like it was made in one piece, not two separate rounds.
How to Use the Seamless Slip Stitch Technique Step-by-Step
Follow these steps to change colors seamlessly when working in the round:
Finish the last stitch of the old color
Complete the last stitch of your current round but stop before the final yarn over.
Yarn over with the new color
Instead of finishing the stitch with the old yarn, yarn over with the new color and pull through to complete the stitch.
Slip stitch to join
Insert your hook into the next stitch of the round, yarn over with the new color, and pull through both loops on the hook. This slip stitch secures the new color yarn.
Continue crocheting with the new color
Begin your next stitch with the new color in the following stitch. Keep your tension consistent.
Weave in ends as you go
To keep your work tidy, weave in the yarn tails from the color change on the wrong side of your project.
Tips for Best Results
Use a stitch marker to mark the beginning of your round. This helps you keep track of where to change colors.
Keep your tension even when switching yarns to avoid loose or tight stitches.
Practice on small swatches before applying the technique to large projects.
Use contrasting colors to clearly see the difference and check your work.
Examples of Projects That Benefit from Seamless Color Changes
This technique works well for many crochet projects, especially those with multiple colors or stripes:
Striped hats and beanies
Clean color changes make stripes look sharp and professional.
Color-block blankets
Large blocks of color join smoothly without bumps.
Amigurumi with color details
Small color changes on toys or figures look neat and polished.
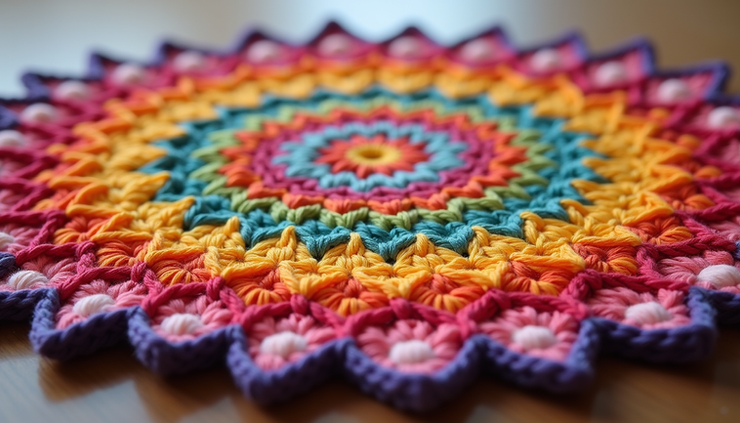
Mandala patterns
Circular designs with many colors maintain their symmetry and flow.
Troubleshooting Common Issues
Even with the seamless slip stitch technique, some problems can arise. Here’s how to fix them:
Loose stitches at the color join
Pull the yarn tails gently to tighten the join without distorting stitches.
Visible gaps between colors
Check your tension and make sure the slip stitch is snug.
Yarn tails showing on the front
Weave in ends carefully on the back side to hide them.
Difficulty identifying the stitch to slip into
Use a stitch marker or count stitches carefully to avoid mistakes.
Final Thoughts on Perfecting Your Crochet Color Changes
Mastering the seamless slip stitch technique transforms your crochet projects. It removes jagged edges and creates smooth, beautiful color transitions that highlight your skill. With practice, this method becomes second nature and adds a professional touch to everything you make.
Try this technique on your next project and see how much cleaner your color changes look. Your crochet creations will shine with every stitch, reflecting the love and care you put into them.
#BloggingTheMoon #CrochetTipsAndTricks #CrochetColorChange #TheCrochetedMoon #HandmadeWithLuv #CMcrochetLifestyle


Comments